Photography is a captivating blend of artistry and technical precision. One of the fundamental elements that can significantly enhance your photographic skills is understanding and mastering aperture. In this comprehensive post, I will explore what aperture is, how it is measured, and the profound impact it has on your photographs. Additionally, I will provide practical tips and tricks to help new photographers effectively use aperture settings on their cameras.
What is Aperture?
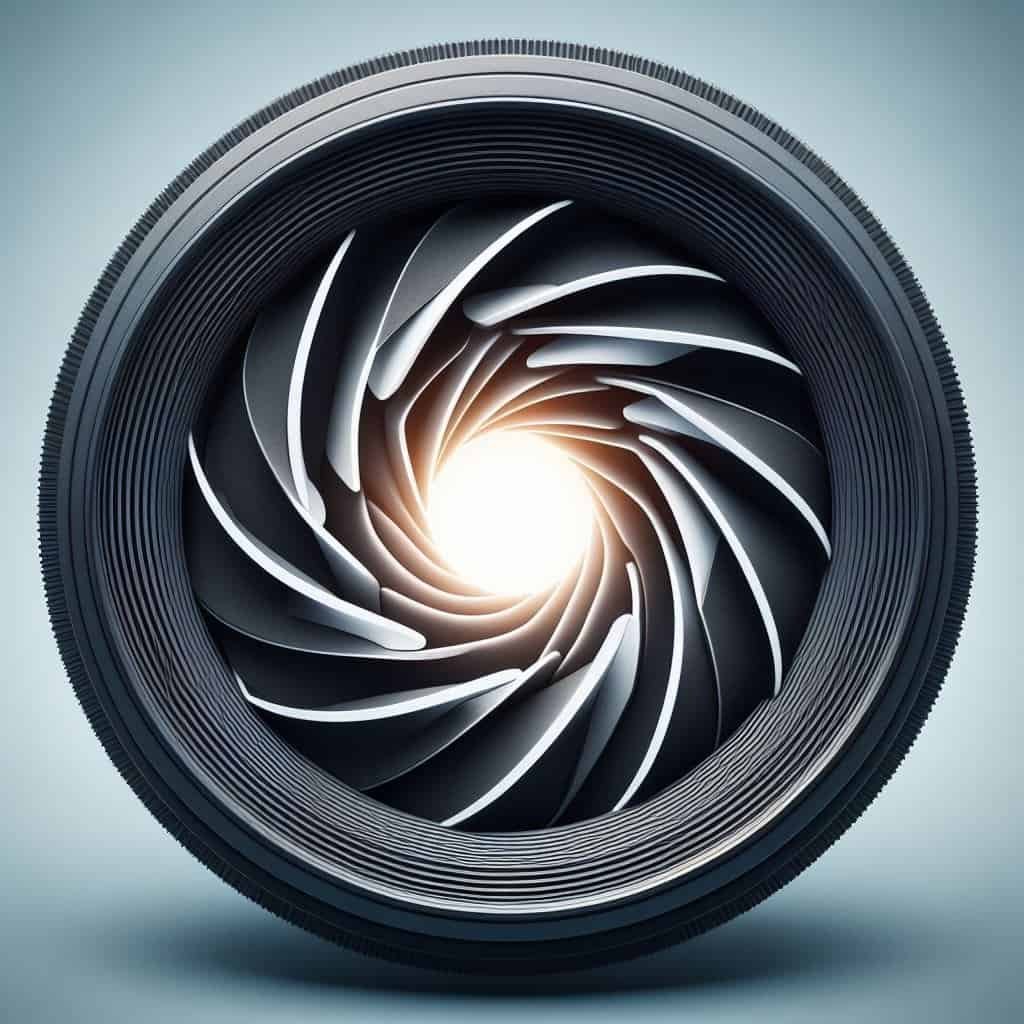
Aperture refers to the opening in a camera lens through which light passes to enter the camera body. It works similarly to the pupil in the human eye. The size of this opening can be adjusted to control the amount of light that reaches the camera’s sensor or film. The aperture is a crucial component of the exposure triangle, along with shutter speed and ISO, which together determine the overall exposure of an image.
Size=f-stop
The size of the aperture is indicated by f-numbers or f-stops (e.g., f/2.8, f/4, f/5.6, f/8, f/11, f/16). These numbers represent the ratio of the lens’s focal length to the diameter of the aperture. It’s important to note that lower f-numbers represent larger apertures (more light entering) and higher f-numbers represent smaller apertures (less light entering).
How is the Aperture Measured?
Aperture is measured in f-stops, and each f-stop represents a doubling or halving of the amount of light entering the lens. For example:
- f/1.4: Large aperture, allows a lot of light in.
- f/2.8: Still a large aperture, half the light of f/1.4.
- f/4: Medium aperture, half the light of f/2.8.
- f/8: Smaller aperture, half the light of f/4.
- f/16: Very small aperture, half the light of f/8.
The sequence of f-stops usually follows a pattern: f/1.4, f/2, f/2.8, f/4, f/5.6, f/8, f/11, f/16, f/22, etc. Each step in this series represents either doubling or halving the light compared to the adjacent stop. Understanding this relationship is essential for controlling exposure and achieving the desired photographic effects.
The Effect of Aperture on Photographs
Aperture influences several critical aspects of your photographs, including exposure, depth of field, and sharpness.
- Exposure: Aperture directly affects the exposure of your image by controlling the amount of light that reaches the camera sensor. A larger aperture (lower f-number) allows more light to enter, resulting in a brighter image. Conversely, a smaller aperture (higher f-number) lets in less light, producing a darker image. Adjusting the aperture is a fundamental way to achieve the correct exposure in varying lighting conditions.
- Depth of Field: Depth of field (DOF) refers to the area of the image that appears sharp and in focus. Aperture plays a crucial role in determining the depth of field. A large aperture (e.g., f/2.8) creates a shallow depth of field, where the subject is in sharp focus while the background and foreground are blurred. This effect is ideal for portraits and macro photography. A small aperture (e.g., f/16) produces a deep depth of field, where most of the image, from the foreground to the background, is in sharp focus. This is commonly used in landscape photography.
- Sharpness and Diffraction: While smaller apertures (higher f-numbers) increase the depth of field, they can also introduce diffraction, which can reduce overall sharpness. Diffraction occurs when light waves bend around the edges of the aperture blades, causing a slight blurring of the image. Balancing aperture size to achieve the desired depth of field while maintaining sharpness is key to high-quality photos.
Tips and Tricks for Using Aperture
Understanding how to use aperture settings effectively can greatly enhance your photographic skills. Here are some practical tips and tricks for mastering aperture:
- Portraits: For portrait photography, use a large aperture (small f-number, e.g., f/1.8 or f/2.8) to create a shallow depth of field. This isolates the subject from the background, making them stand out and adding a pleasing blur to the background (bokeh).
- Landscapes: In landscape photography, aim for a small aperture (large f-number, e.g., f/11 or f/16) to achieve a deep depth of field. This ensures that the entire scene, from the foreground to the background, is in sharp focus.
- Macro Photography: When shooting close-up subjects, such as flowers or insects, a large aperture (e.g., f/2.8) can help achieve a shallow depth of field, drawing attention to the details of the subject while blurring the background.
- Low-Light Conditions: In low-light situations, a larger aperture (e.g., f/2.8 or wider) allows more light to reach the sensor, helping to achieve proper exposure without needing to increase ISO or decrease shutter speed excessively.
- Creative Effects: Experiment with aperture to create unique effects. For instance, using a very wide aperture (e.g., f/1.4) can create dramatic bokeh, while stopping down to a smaller aperture (e.g., f/22) can create starburst effects around light sources.
- Hyperfocal Distance: When shooting landscapes, especially with wide-angle lenses, understanding hyperfocal distance can help maximize depth of field. The hyperfocal distance is the closest distance at which a lens can be focused while keeping objects at infinity acceptably sharp. Focusing at this distance ensures the maximum depth of field.
- Aperture Priority Mode: Use your camera’s Aperture Priority mode (usually labeled as A or Av on the mode dial). This mode allows you to set the desired aperture while the camera automatically adjusts the shutter speed to achieve the correct exposure. It’s a great way to practice controlling depth of field while maintaining proper exposure.
- Lens Sweet Spot: Every lens has an aperture at which it performs best in terms of sharpness and minimal aberrations. This is often referred to as the “sweet spot” and is typically found between f/5.6 and f/8. Experiment with different apertures to find your lens’s sweet spot for optimal sharpness.
- Background Control: Pay attention to the background when adjusting aperture. A larger aperture can blur a distracting background, making your subject stand out, while a smaller aperture can keep background details sharp, which is useful for environmental portraits.
- Practice and Experimentation: The best way to master aperture is through practice and experimentation. Try shooting the same scene with different aperture settings and observe how it affects exposure, depth of field, and overall image quality. Reviewing these images will help you understand the relationship between aperture and photographic outcomes.
Practical Examples of Aperture Settings
To further illustrate the application of aperture settings, let’s consider a few practical examples:
- Portrait Photography: You’re photographing a person in a park. To make the subject stand out against a busy background, you use a large aperture (e.g., f/2.8). This creates a shallow depth of field, keeping the subject in sharp focus while the background is pleasingly blurred.
- Landscape Photography: You’re capturing a breathtaking mountain landscape. To ensure that both the foreground (flowers) and the background (mountains) are in focus, you use a small aperture (e.g., f/16). This deep depth of field keeps the entire scene sharp and detailed.
- Street Photography: While photographing a street scene in the evening, you encounter low light conditions. To avoid using a high ISO, you open the aperture wide (e.g., f/1.8). This allows more light to reach the sensor, resulting in a well-exposed image despite the dim lighting.
- Macro Photography: You are photographing a flower with intricate details. To highlight the details and create a soft background blur, you choose a large aperture (e.g., f/2.8). This shallow depth of field makes the flower’s details pop against the blurred background.
- Architectural Photography: You’re photographing a building with intricate designs. To capture the details of the architecture, you use a smaller aperture (e.g., f/11). This ensures that the entire building is in sharp focus, showcasing the details and textures.
Final Thoughts
Aperture is a powerful tool in photography that significantly influences exposure, depth of field, and image sharpness. By understanding how aperture works and practicing with different settings, you can take greater control of your photographic outcomes and create visually compelling images.
Start by experimenting with your camera’s aperture settings in various lighting conditions and shooting scenarios. Use the tips and tricks I have provided to guide your exploration and deepen your understanding of how aperture impacts your photos. With time and practice, you’ll develop the confidence and skill to use aperture creatively and effectively, enhancing your overall photographic artistry. Happy shooting!
Dive Deeper
📸 Photography 101: Master the basics
⚙️ Gear & Maintenance: Protect your investment
🔭 Beyond the Lens: Find your creative voice
Did you enjoy this post? If you want to keep up with my latest work, get notified when new prints go on sale, or receive more tips like these, consider subscribing to my weekly update. I send out one email every Friday to share what I’m working on and what I’ve learned behind the lens. No spam, just photography.