
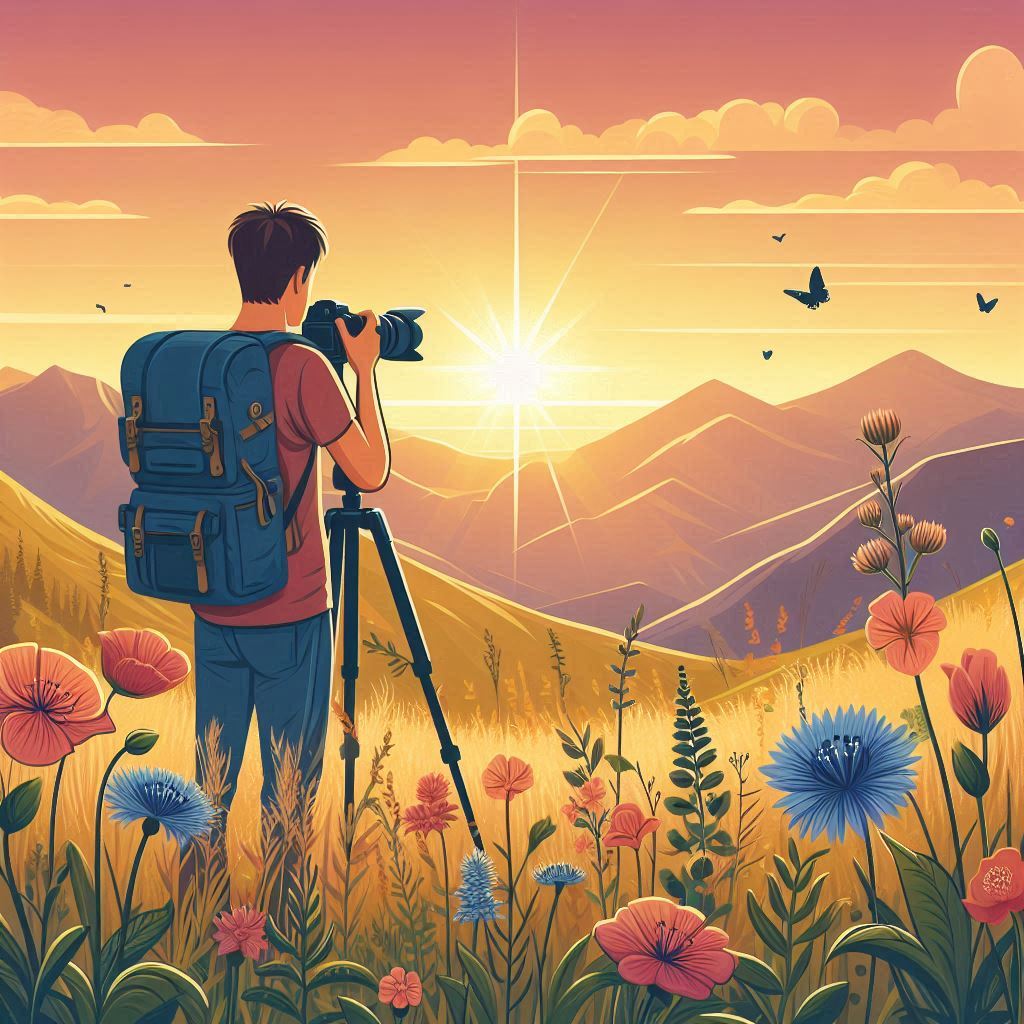
Landscape photography is about capturing the beauty and vastness of the natural world. It’s different from other types of photography because it focuses on outdoor scenes, often requiring the photographer to deal with changing weather, lighting, and conditions that are beyond control.
Lighting plays a crucial role. Understanding how natural light changes throughout the day can significantly impact your photos. Golden hour, the time just after sunrise or before sunset, offers warm, soft light that enhances the natural landscape. On the other hand, blue hour, just before sunrise or after sunset, provides cooler, more dramatic tones.
Stay organized while you’re on the go. My zip pouches can do it all. They are available in 3 different sizes and with 2 different bottom styles: regular and t-bottom.
A Lot To Consider
Composition is another key element. In landscape photography, using techniques like the Rule of Thirds helps create balanced and engaging images. Placing a focal point off-center instead of in the middle can make a photo more interesting to the eye. Additionally, leading lines like roads or rivers guide the viewer’s eye through the scene, adding depth and dimension to the photo.
Timing matters a lot in landscape photography. Seasons change, and so do the landscapes. Capturing a forest in autumn, with its vibrant foliage, presents a different challenge and beauty than photographing the same forest in winter. Being mindful of these changes can turn a good photo into a great one.
Each landscape is unique, and part of the challenge is to convey that uniqueness through your lens. This means understanding the characteristics that make a particular scene special. It’s not just about taking a picture; it’s about telling a story with your photo, making the viewer feel like they’re part of the landscape.
Challenge #1: Mastering Camera Settings
Getting a grip on your camera settings can feel like learning a new language, but it’s essential for landscape photography. The three main settings you need to understand are Aperture, Shutter Speed, and ISO.
Aperture controls the depth of field – how much of your scene is in focus. In landscape photography, you generally want a large depth of field, so using a small aperture (like f/11 or f/16) helps keep everything sharp from foreground to background.
Shutter Speed determines how long your camera’s sensor is exposed to light. For capturing movement, like flowing water, a slower shutter speed (like 1/4 second) creates a smooth, ethereal effect. Conversely, a faster shutter speed (like 1/1000 second) freezes motion, useful for windy days when grass or leaves are moving.
ISO adjusts your camera’s sensitivity to light. In bright conditions, a low ISO (100 or 200) keeps your images crisp. At night or in low light, a higher ISO (800 or higher) might be needed but beware of noise, which can make your photos grainy.
Beginners often make a few common mistakes: forgetting to reset their ISO after changing lighting conditions, using too wide an aperture that blurs parts of the scene, or using a shutter speed that either doesn’t capture enough light or captures too much movement. Being mindful of these settings and practicing regularly helps in avoiding these pitfalls.
Use your camera’s manual mode to have complete control over these settings. It might feel intimidating at first, but with practice, it becomes second nature. Start by experimenting with different settings in various conditions – sunny days, overcast skies, early mornings, and evenings. Review your photos to see how each setting affects the final image.
Resources like online tutorials, camera manuals, and workshops can offer additional guidance. Building a strong foundation in camera settings makes a noticeable difference, allowing you to capture breathtaking landscapes with precision.
Challenge #2: Capturing the Right Light
Lighting can make or break a landscape photograph. Natural light is your best friend, but it’s also unpredictable. Knowing when and how to use different types of natural light is crucial to elevating your photography.
Golden hour is the time shortly after sunrise or just before sunset. The sunlight is soft, warm, and diffused, casting long shadows and giving your landscape a magical glow. Plan your shoots around these times to take full advantage of the light.
Blue hour offers a different mood. Just before sunrise or after sunset, the light is cooler and more subtle, creating a tranquil, almost ethereal atmosphere. It’s perfect for shots needing a calm and serene feeling.
Overcast days might seem unappealing, but they provide diffused light that can help capture details without the harsh shadows produced on sunny days. The clouds act like a giant softbox, scattering light evenly across the scene.
Watch the direction of the light. Front lighting illuminates your subject evenly, which is useful but can sometimes make your shots look flat. Side lighting, where the light hits your subject from an angle, adds depth and texture, highlighting contours and creating more engaging images. Backlighting, on the other hand, can create dramatic silhouettes and highlight the edges of your subject, adding a halo effect.
Understanding how to adapt to different lighting conditions and making the most out of every situation is a skill that comes with time. Analyze your photos and see what lighting conditions worked best for particular shots. This ongoing learning process helps you grow as a photographer.
Challenge #3: Composing a Compelling Shot
Composition in landscape photography isn’t just about what you include in the frame but also how you arrange those elements. Good composition directs the viewer’s eye, tells a story, and creates a pleasing image.
One of the most basic yet effective techniques is the Rule of Thirds. Imagine your image divided into nine equal parts by two vertical and two horizontal lines. Placing key elements along these lines or at their intersections makes your photo more balanced and engaging.
Leading lines are natural or man-made lines that guide the viewer’s eye through the image. Roads, rivers, or a row of trees can act as leading lines, pulling the viewer into the scene and creating a sense of depth.
Foreground interest is about including elements in the front part of your photo to add dimension and scale. For example, placing a rock or a flower in the foreground can make the viewer feel more ‘present’ in the scene, bridging the gap between them and the distant landscape.
Balancing elements within the frame is also essential. If one side of your image is heavily weighted with objects or colors, the photo might feel lopsided. Distributing visual weight evenly across the frame helps maintain harmony.
Avoid common composition mistakes like placing the horizon line in the middle of the frame, which can make the photo feel split in half. Instead, place the horizon on the upper or lower third line to create a more dynamic image.
Experiment with different angles and perspectives. Sometimes shooting from a low angle can make mountains look towering and majestic, while a high angle might highlight patterns in fields or forests. Changing your point of view often reveals new and exciting compositions you might not have noticed from eye level.
Challenge #4: Handling Weather and Environmental Conditions
Weather can be unpredictable, making it both a challenge and an opportunity in landscape photography. Embracing the variability of weather can lead to some of the most stunning shots, but it requires preparation and adaptability.
Be aware of how different weather conditions can impact your photos. Clear, sunny days might highlight vibrant colors, while a stormy sky can add drama and mood. Fog can create a mysterious atmosphere, and snow can turn a familiar landscape into something completely different.
Monitoring the weather forecast is essential. There are specific apps designed for photographers that provide detailed information on lighting conditions, cloud cover, and more. Knowing what to expect helps you plan your shoot and adjust your strategy accordingly.
Always be prepared for sudden changes in weather. Carry extra clothing layers, waterproof gear, and protective covers for your camera. A rain cover and a sturdy, weather-resistant bag can keep your equipment safe from unexpected showers.
Photographing in extreme weather conditions, like heavy rain or snow, can be challenging but rewarding. These conditions often transform landscapes in ways that fair weather can’t. Arm yourself with the right gear – waterproof boots, gloves, and perhaps a lens cloth to keep your equipment dry.
Safety should always be a priority. Avoid risky locations during severe weather. Know your limits and avoid taking unnecessary risks. Having a plan and telling someone where you’re going can make a huge difference.
Proper preparation and a positive attitude towards changing weather conditions can make your landscape photography more adventurous and fulfilling. Each change in weather presents a new opportunity to capture the landscape in a different light, making your portfolio diverse and visually exciting.
Challenge #5: Managing Equipment and Gear
Having the right gear is crucial for landscape photography, but knowing how to manage and maintain it is equally important. The essentials include cameras, lenses, and tripods, but there are also some handy extras that can make a difference.
Start with a good quality camera. While DSLRs and mirrorless cameras are common choices, the right one for you depends on your needs and budget. Prioritize features like weather sealing, dynamic range, and battery life, which are particularly important for outdoor shoots.
Lenses play a significant role in shaping your photos. A wide-angle lens is a staple for capturing vast landscapes, while a telephoto lens helps in isolating distant subjects, like mountains or wildlife, adding layers to your composition. Prime lenses with fixed focal lengths often offer superior sharpness compared to zoom lenses.
A sturdy tripod is essential. It helps stabilize your camera, enabling long exposures, which are often needed in lower light conditions like dawn or dusk. Look for tripods that are lightweight but durable, making them easier to carry but reliable in holding your gear steady.
Don’t underestimate the value of necessary accessories. Neutral Density (ND) filters help manage light exposure, allowing for creative effects like smooth water or dynamic skies. Polarizing filters reduce glare and enhance colors, especially in midday sun. A remote shutter release can prevent camera shake during long exposures.
Packing your gear properly is vital for outdoor shoots. Use padded camera bags to protect your equipment. Organize your bag, keeping essential items easily accessible. Cleaning supplies, like microfiber cloths and air blowers, should always be on hand to tackle dust and moisture.
Maintaining your gear extends its life and reliability. Regularly clean your lenses and camera sensor, and check for firmware updates for optimal performance. Store equipment in dry, cool places to prevent moisture damage and invest in silica gel packs during humid conditions.
Managing your equipment effectively ensures you’re ready for any shooting condition, helping you focus on capturing that perfect shot rather than worrying about your gear.
Challenge #6: Post Processing
Post-processing is where your landscape photos come to life, allowing you to enhance and refine the images you’ve captured. While it’s essential to get good shots in-camera, editing helps make those shots even better.
Using editing software like Adobe Lightroom or Photoshop, you can adjust the exposure, contrast, and saturation to bring out the best in your photos. These tools allow for fine-tuning that can turn a good photo into a great one.
Start with basic adjustments. Correcting exposure and white balance is often necessary, especially if you were shooting in challenging light conditions. Tweaking contrast and saturation can help bring out the colors and details that might not have been fully captured initially.
Cropping and straightening your image can make a significant difference. Sometimes, minor adjustments to the composition during editing can enhance the overall balance and focus of the photo. Cutting out distractions or aligning the horizon can dramatically improve the visual appeal.
Final Thoughts
Landscape photography takes a lot of practice. Learn the basics, make cheat sheets that work for you, and get out there and have some fun. Just remember to take your camera wherever you go. You know the one time you don’t have it is when you’ll come upon the perfect shot. Ask me how I know!!! Now get out there and start shooting.
Did you enjoy this post? Do you want to know when the next post comes out? Consider subscribing. I only send update emails once a week, usually on Friday. Try it out. You can unsubscribe at any time.