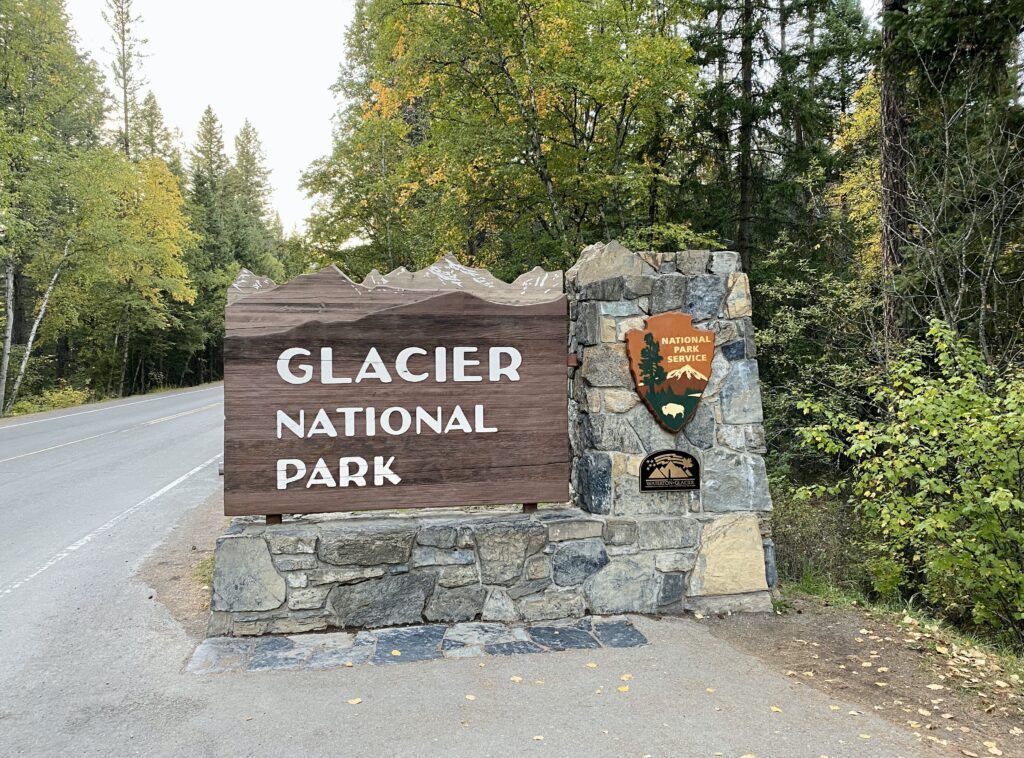
Glacier National Park in Montana is a dream destination for photographers. With its breathtaking landscapes, diverse wildlife, and iconic Going-to-the-Sun Road, this park offers endless opportunities for capturing stunning images. I hope this article will help you make the most of your photoshoot at Glacier National Park.

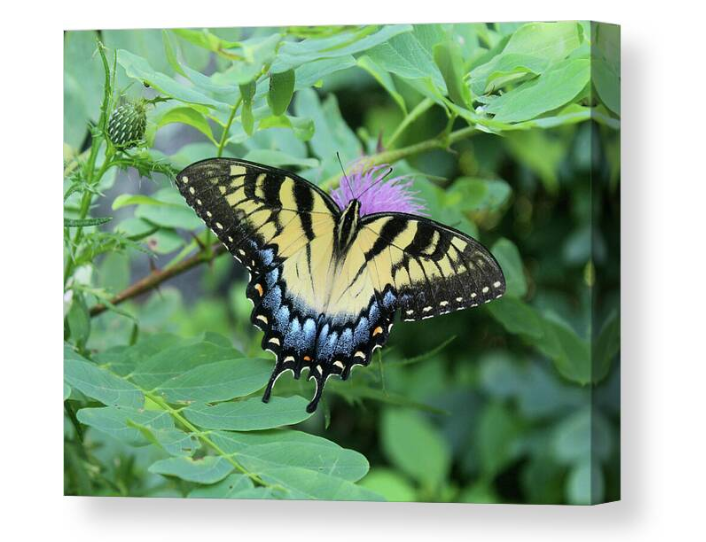
Check out my selection of canvas prints. The images are printed on premium canvas and then stretched on a wooden frame 1.5” X 1.5” – gallery wrap or 5/8” X 5/8” – museum wrap. Comes with pre-attached wire, mounting hooks, and nails.
Best Time to Visit
Season: The best time to visit Glacier National Park for photography is during the summer months, from late June to early September. This is when the park’s famous Going-to-the-Sun Road is fully open, and the weather is generally more predictable. You can easily spend many days just on this road!!!
Time of Day: Early morning and late afternoon provide the best lighting conditions. The golden hour – the period shortly after sunrise and before sunset – offers soft, warm light that enhances the natural beauty of the landscapes and wildlife.
Entry Costs
The entrance fee for Glacier National Park varies depending on the season and the type of pass. Here are the current fees as of the date of this article:
- 7-Day Pass: $35 per vehicle, $30 per motorcycle, and $20 per individual (hiker or cyclist).
- Annual Pass: $70 for the Glacier National Park Annual Pass.
My wife is 65 years old so we have the “America The Beautiful” senior pass. It’s an $80 one-time fee and we get into most national parks for free. I’ll leave the link at the end of this article for the pass website.
Essential Photography Equipment
To make the most of your photoshoot at Glacier National Park, consider bringing the following equipment:
- Camera: A DSLR or mirrorless camera with manual settings to control exposure and focus.
- Lenses:
- Wide-angle lens (16-35mm) for landscapes.
- Telephoto lens (70-200mm or longer) for wildlife.
- Macro lens for close-up shots of flowers and insects.
- Tripod: Essential for stability, especially during low light conditions and long exposures.
- Filters:
- Polarizing filter to reduce glare and enhance colors.
- Neutral density (ND) filter for capturing long exposure shots of waterfalls and streams.
- Extra Batteries and Memory Cards: You’ll be taking lots of shots, so bring spares.
- Protective Gear: Rain cover for your camera and a sturdy camera bag.
Shooting Photos Along Going-to-the-Sun Road
Going-to-the-Sun Road is one of the most scenic drives in the United States, offering numerous photo opportunities:
- Logan Pass: At 6,646 feet, it’s the highest point on the road and provides panoramic views of the surrounding mountains and valleys.
- Wild Goose Island Viewpoint: This iconic spot on Saint Mary Lake is a must-visit for sunrise shots.
- Weeping Wall: Capture the dramatic waterfalls cascading down the cliff face.
- Bird Woman Falls: A beautiful waterfall that can be seen from various points along the road.
Wildlife and Landscapes
Wildlife: Glacier National Park is home to a variety of wildlife. Keep your eyes peeled for:
- Grizzly and black bears
- Mountain goats
- Bighorn sheep
- Moose
- Elk
- Deer
- Birds such as eagles, hawks, and ospreys
Landscapes:
- Majestic mountains and peaks
- Pristine lakes and rivers
- Lush forests
- Alpine meadows filled with wildflowers
- Glaciers and snowfields
Practical Tips for a Successful Photoshoot
Parking: Parking can be challenging, especially during peak season. Arrive early in the morning to secure a spot at popular locations like Logan Pass. There are also shuttle services available that can help you access different parts of the park without worrying about parking.
Restrooms: Restrooms are available at visitor centers, campgrounds, and some trailheads. Be prepared for limited facilities along some of the more remote trails.
Safety Tips:
- Stay on designated trails to protect the fragile environment and for your safety.
- Carry bear spray and know how to use it.
- Keep a safe distance from wildlife; use a telephoto lens to capture close-up shots.
- Check weather conditions before heading out, as mountain weather can change rapidly.
- Bring plenty of water and snacks to stay hydrated and energized.
Additional Tips:
- Layer your clothing to adapt to changing temperatures.
- Use a GPS or map to navigate the park, as cell service can be unreliable.
- Respect the park’s regulations and Leave No Trace principles to preserve its natural beauty.
Final Thoughts
Glacier National Park offers a wealth of photographic opportunities for both novice and experienced photographers. By visiting during the right time, bringing the appropriate gear, and following practical tips, you can ensure a successful and enjoyable photoshoot. Capture the park’s stunning landscapes and diverse wildlife while creating memories and images that will last a lifetime.
Don’t forget to bring food and snacks besides your water. I always bring a small cooler with me. I leave it in a vehicle if I head out on a trail so as to not attract animals…lol.
My trip to Glacier National Park was too short. I spent two full days here (although mostly doing touristy stuff/some photoshooting) and that was not enough!!! I am definitely going to try and get back there soon. Happy shooting!
As promised, here is the link to get the America The Beautifull Senior Pass:
Did you enjoy this post? Do you want to know when the next post comes out? Consider subscribing. I only send update emails once a week, usually on Friday. Try it out. You can unsubscribe at any time.

