Shedding Light on External Flashes: Your Guide to Better Photography (No Deer-in-Headlights Look Required)
Let’s be honest: we’ve all been there. You’re at a family gathering, dimly lit restaurant, or evening event, and you think, “I’ll just use my camera’s built-in flash.” Ten shots later, everyone looks like they’re auditioning for a witness protection program, complete with red demon eyes and that lovely “I just saw my life flash before me” expression. Welcome to the world of inadequate lighting, my friend.
This is where external flashes swoop in like the photography superheroes they are. But before we dive into the nitty-gritty of speedlights and strobes, let’s take a quick trip down memory lane.
A Brief (and Explosive) History
Photography and light have been in a complicated relationship since day one. In the early days, photographers dealt with extremely slow film speeds and lenses, which meant you either needed brilliant sunlight or your subjects had to sit perfectly still for uncomfortably long periods. (Spoiler alert: this is why nobody smiled in old photographs. Try holding a grin for three minutes without looking deranged.)
The game changed in the 1880s with the invention of flash powder, a mixture of magnesium powder that created a brilliant light when ignited. And by “ignited,” I mean it literally exploded in a cloud of smoke. Photographers became part-time pyrotechnicians, and indoor photography sessions probably violated several fire codes.
By the 1930s, we got flashbulbs: single-use bulbs that produced a brief, intense burst of light before becoming useless pieces of glass. Wedding photographers would go through dozens, if not hundreds, of these things per event. Imagine changing a lightbulb after every single photo. Yeah, we’ve come a long way.
The electronic flash finally arrived in the 1930s but didn’t become practical and portable until the 1960s and 70s. These reusable, battery-powered units were revolutionary, no more explosions, no more one-and-done bulbs, just reliable light at the press of a button. Today’s external flashes are the descendants of those early electronic units, but with more computing power than the Apollo missions and a lot less weight.
So, What Exactly IS an External Flash?
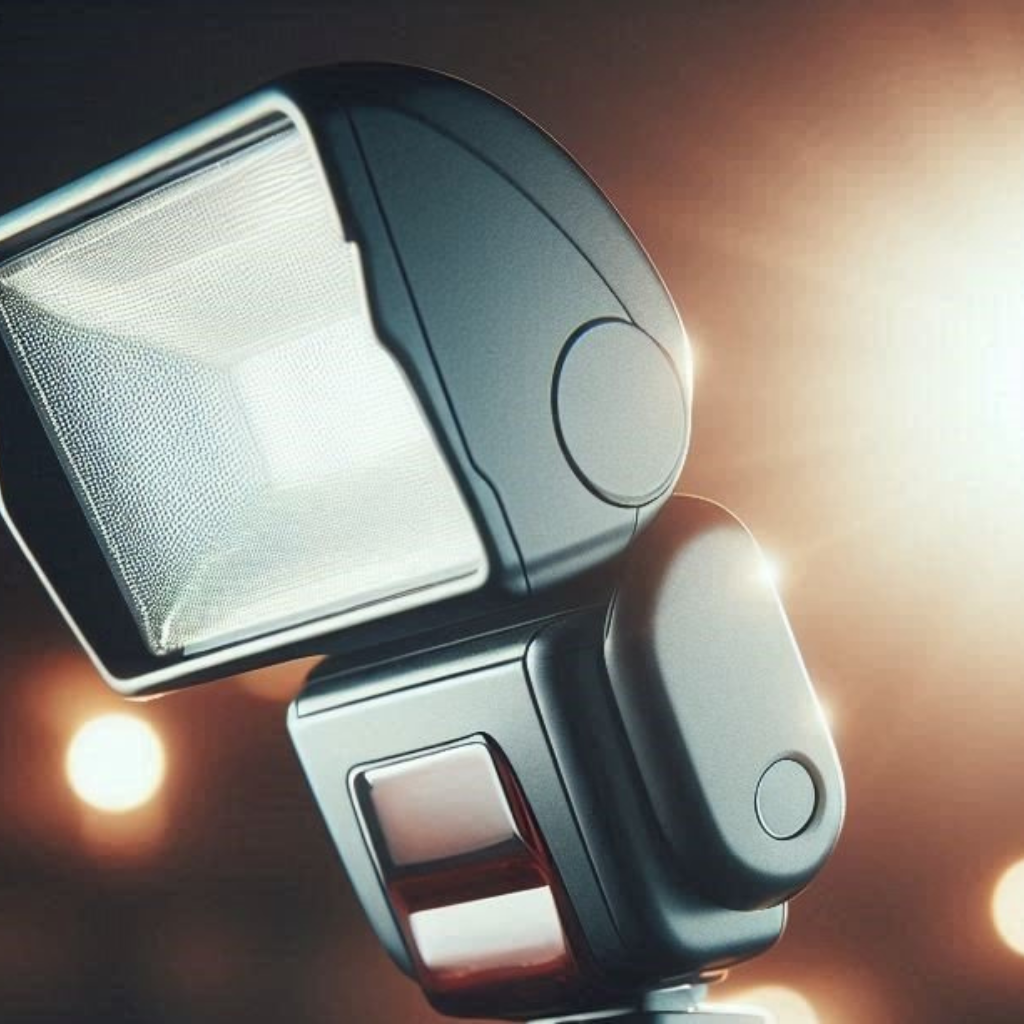
An external flash (also called a speedlight or flashgun) is essentially a portable light source that attaches to your camera’s hot shoe or works wirelessly. Unlike your camera’s sad little pop-up flash, which is about as effective as a birthday candle in a stadium, an external flash is more powerful, directional, and versatile.
Think of your built-in flash as a smartphone flashlight, and an external flash as a professional spotlight. Both produce light, but one gives you actual control over that light.
The magic happens through either TTL (Through The Lens) metering, where the flash and camera communicate to determine the right amount of light automatically, or manual mode, where you take the reins and set the power output yourself. TTL is like cruise control for your lighting; manual mode is like driving a stick shift, more work, but more control.
The Flash Family: Different Types for Different Needs
Not all external flashes are created equal. Let’s meet the family:
On-Camera Speedlights
These are the workhorses of the flash world. They mount on your camera’s hot shoe and range from modest budget-friendly options to professional units that cost more than some people’s first cars. The beauty of speedlights is their portability and versatility. They’re powerful enough for most situations, light enough to carry all day, and can work both on and off-camera.
Modern speedlights can tilt and swivel (more on why this matters in a minute), have built-in wireless capabilities, and pack enough power to light up a small wedding reception. Popular models from Canon, Nikon, Sony, Godox, and others have become essential tools for event photographers, photojournalists, and anyone who refuses to be limited by available light.
Studio Strobes
If speedlights are high-powered flashlights, studio strobes are searchlights. These plug-in (or battery-powered) units sit on light stands and deliver significantly more power than speedlights. They’re the choice for studio work, fashion photography, and any situation where you need to overpower the sun or illuminate large spaces.
Studio strobes typically have modeling lights (constant lights that show you where the flash will hit), faster recycle times, and accept a wide range of light modifiers. The downside? They’re less portable and require more setup. You’re not slipping one of these into your camera bag for a casual street photography session.
Ring Flashes
These circular flashes mount around your lens and create a distinctive, shadowless light that’s particularly popular in fashion and macro photography. They produce that signature “halo” catchlight in the subject’s eyes and eliminate the harsh shadows that traditional flashes can create.
Ring flashes are also beloved by dentists and medical photographers (yes, that’s a thing), because they provide even, shadow-free illumination in tight spaces. If you’ve ever wondered how dental textbooks get those detailed tooth photos, now you know.
Macro Flashes
Speaking of getting up close and personal, macro flashes are specialized units designed for extreme close-up photography. They typically consist of two small flash heads that mount on either side of the lens, providing even illumination for tiny subjects like insects, flowers, or jewelry.
Regular flashes struggle with macro work because your lens often blocks the light at such close distances. Macro flashes solve this by positioning the light sources right at the front of the lens, ensuring your subject is properly lit even when you’re inches away.
How External Flashes Transform Your Photos
Here’s where external flashes really earn their keep. The difference between good flash photography and bad flash photography often comes down to one thing: direction.
Bouncing: Your New Best Friend
Remember how I mentioned that speedlights can tilt and swivel? This is why. Instead of blasting light directly at your subject like you’re conducting an interrogation, you can bounce the flash off ceilings, walls, or reflectors. This creates soft, diffused, natural-looking light that doesn’t scream “FLASH PHOTO!”
Bouncing transforms harsh, unflattering direct flash into light that wraps around your subject beautifully. It’s the difference between looking like a mug shot and looking like you hired a professional lighting crew. The catch? You need something to bounce off, and it should ideally be white or neutral (bouncing off a green wall will make everyone look seasick).
Fill Flash: Taming the Sun
Here’s something that surprises beginners: flash isn’t just for dark environments. One of the most powerful techniques in outdoor photography is using flash as fill light in bright conditions.
Harsh midday sun creates deep shadows under eyes, noses, and chins. A well-placed flash fills in those shadows, creating more flattering and balanced light. It’s like photographic Botox for harsh lighting conditions, everything just looks better.
Freezing Motion
External flashes have incredibly short flash durations, often 1/1000th of a second or faster at lower power settings. This means you can freeze action that would be impossible with ambient light alone. Water droplets, athletes mid-jump, pets doing zoomies, a good flash makes them all sharp and crisp.
Creative Control
With external flashes, you’re not limited to the light that exists. You can create dramatic portraits with a single off-camera flash, simulate golden hour at midnight, or craft complex multi-light setups that rival any studio. You become a light sculptor rather than just a light finder.
Practical Tips for Flash Photography Success
Don’t Point and Shoot (Usually)
The fastest way to improve your flash photography is to stop aiming it directly at people. Tilt it up, angle it sideways, bounce it off something, just don’t blast it straight ahead unless you’re going for that passport photo aesthetic.
Diffuse When You Can’t Bounce
Can’t bounce? Use a diffuser. These white plastic domes or panels spread and soften the light, reducing harsh shadows and making everyone look more human and less like they’re in a police lineup.
Learn to Balance Flash with Ambient Light
The best flash photos don’t look like flash photos. They look like the room was naturally well-lit. This means learning to balance your flash exposure with the ambient light in the scene. It takes practice, but the results are worth it.
Experiment with Off-Camera Flash
Once you’re comfortable with on-camera flash, try taking it off the camera. You can use wireless triggers or even the built-in wireless capabilities of modern flashes. Off-camera flash opens up a whole new world of creative possibilities and more dimensional lighting.
Invest in Good Batteries
Nothing kills the photography vibe faster than your flash dying mid-shoot. Invest in quality rechargeable batteries and always carry spares. Your future self (and your subjects) will thank you.
Final Thoughts
External flashes aren’t just about adding light, they’re about controlling light. They transform you from someone at the mercy of available lighting into someone who can create beautiful images anywhere, anytime. Whether you’re shooting a wedding, capturing your kid’s soccer game, or experimenting with creative portraits in your living room, an external flash expands what’s possible.
Yes, there’s a learning curve. Yes, you’ll probably create some truly terrible photos while you figure it out (we all have). But once you understand how to work with flash rather than just against the darkness, it becomes one of the most powerful tools in your photography kit.
So go ahead, embrace the flash. Just maybe practice bouncing before you blind your friends and family. They’ll appreciate it, and your photos will look infinitely better. Plus, you won’t have to deal with angry texts about how they couldn’t see for twenty minutes after you “just wanted to test the settings.”
Happy shooting, and may your lighting always be flattering!
Dive Deeper
📸 Photography 101: Master the basics
⚙️ Gear & Maintenance: Protect your investment
🔭 Beyond the Lens: Find your creative voice
Did you enjoy this post? If you want to keep up with my latest work, get notified when new prints go on sale, or receive more tips like these, consider subscribing to my weekly update. I send out one email every Friday to share what I’m working on and what I’ve learned behind the lens. No spam, just photography.